Follow Me On Social Media!
No-Bake Energy Bombs – The Ultimate Healthy Snack You’ll Make Again and Again

When life gets busy, finding a snack that is healthy, quick, and satisfying can feel impossible. That’s where No-Bake Energy Bombs come in. These small but mighty bites are packed with wholesome ingredients that deliver long-lasting energy, making them perfect for busy mornings, afternoon slumps, workout fuel, or guilt-free dessert cravings.
Unlike traditional snacks loaded with refined sugar, these energy bombs are made with natural ingredients like oats, peanut butter, and honey. They require zero baking, minimal prep time, and can be stored for days — making them one of the most convenient homemade snacks you can prepare.
In this complete guide, you’ll learn everything about making perfect no-bake energy bites, including ingredient benefits, variations, expert tips, storage advice, and serving ideas.
Why You’ll Love This Recipe
There are many reasons why these no-bake energy bombs have become a favorite in kitchens worldwide:
1. Quick & Easy
You can prepare them in under 15 minutes with no oven required.
2. Nutritious & Filling
Each bite contains fiber, protein, and healthy fats.
3. Customizable
You can easily change flavors to suit your taste.
4. Perfect for Meal Prep
They store well and are ideal for weekly snack planning.
5. Kid-Friendly
Even picky eaters love these naturally sweet bites.
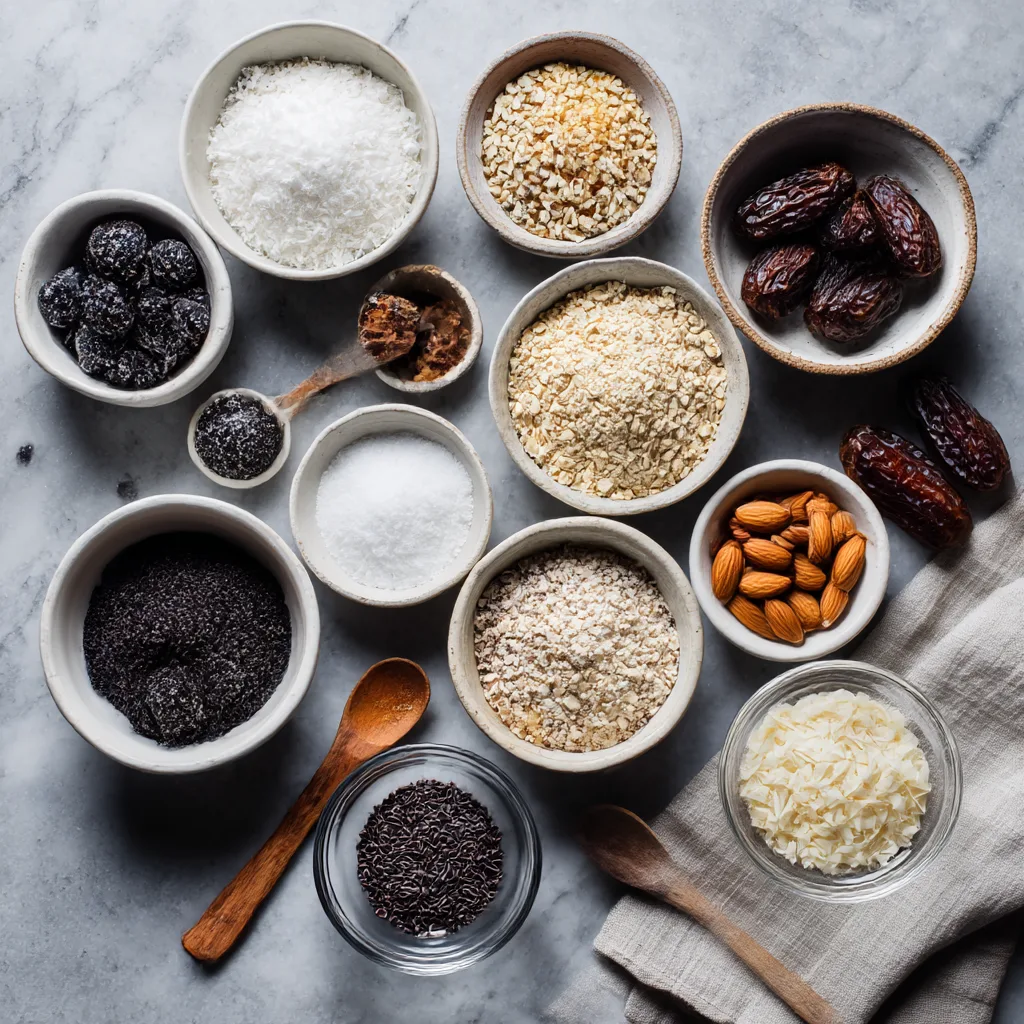
Ingredients
- 1 cup rolled oats
- 1/2 cup creamy peanut butter
- 1/3 cup honey or maple syrup
- 1/4 cup mini chocolate chips
- 2 tbsp chia seeds
- 1 tsp vanilla extract
- 2 tbsp ground flaxseed
Instructions
- In a large mixing bowl, combine rolled oats, chia seeds, and ground flaxseed.
- Add peanut butter, honey, and vanilla extract to the dry ingredients.
- Stir thoroughly until the mixture becomes sticky and evenly combined.
- Fold in mini chocolate chips.
- Refrigerate the mixture for about 20 minutes to firm up.
- Scoop and roll into bite-sized balls using your hands or a cookie scoop.
- Store in an airtight container in the refrigerator.
The Nutritional Benefits of Energy Bombs
These no-bake energy bites aren’t just delicious — they’re incredibly nourishing.
Oats
Rich in fiber and complex carbohydrates, oats provide sustained energy and support digestion.
Peanut Butter
Loaded with protein and healthy fats that help keep you full longer.
Chia Seeds
Packed with omega-3 fatty acids, antioxidants, and fiber.
Honey
A natural sweetener that delivers quick energy without processed sugars.
Flaxseed
Supports heart health and adds extra fiber.
Tips for Perfect No-Bake Energy Bombs
Use Natural Peanut Butter
Avoid overly oily or sugary brands for best consistency.
Chill Before Rolling
This step prevents sticky hands and ensures uniform shapes.
Adjust Texture
Too dry? Add honey.
Too wet? Add oats.
Use a Cookie Scoop
Ensures consistent sizes for even storage and serving.

Delicious Variations to Try
One of the best things about energy bombs is their flexibility.
Chocolate Lover Version
Add cocoa powder and extra chocolate chips.
Coconut Delight
Mix in shredded coconut and coconut butter.
Protein Boost
Add vanilla protein powder.
Nut-Free Option
Replace peanut butter with sunflower seed butter.
Fruity Twist
Add dried cranberries or chopped dates.
Storage & Shelf Life
Energy bombs store beautifully:
- Refrigerator: Up to 1 week
- Freezer: Up to 3 months
Store them in airtight containers to maintain freshness.
Best Times to Enjoy Energy Bombs
These bites are incredibly versatile.
Morning Boost
Pair with coffee for quick breakfast energy.
Pre-Workout Snack
Provides fast fuel without heaviness.
Afternoon Pick-Me-Up
Perfect for avoiding sugary snack crashes.
Healthy Dessert
Satisfies sweet cravings guilt-free.
Serving Suggestions
Make your energy bombs feel extra special:
- Drizzle with melted dark chocolate
- Roll in cocoa powder or coconut flakes
- Serve alongside fruit slices
- Add to lunchboxes
Fun Facts About Energy Bites
- No-bake snacks gained popularity in the 1970s health movement.
- They are sometimes called “power balls” or “bliss balls.”
- Athletes often use them as portable energy fuel.
Why Homemade Is Better Than Store-Bought
Store-bought snack bars often contain preservatives, artificial sweeteners, and hidden sugars. Making energy bombs at home ensures:
- Fresh ingredients
- No preservatives
- Lower cost
- Full control over nutrition
Frequently Asked Questions
Can I Make Them Vegan?
Yes — simply use maple syrup instead of honey.
Are They Gluten-Free?
Use certified gluten-free oats.
Can I Use Crunchy Peanut Butter?
Absolutely — it adds great texture.
Why Are My Energy Balls Falling Apart?
They likely need more sticky ingredients like honey or peanut butter.
Final Thoughts
No-Bake Energy Bombs are the perfect blend of convenience, nutrition, and flavor. Whether you’re meal-prepping for the week, fueling workouts, or looking for a healthier snack option, these bites deliver everything you need in one small, delicious package.
Once you try them, you’ll understand why they’ve become a staple recipe in so many households.

No-Bake Energy Bombs
Quick and healthy no-bake energy bites packed with oats, peanut butter, and natural sweetness.
Equipment
- Mixing bowls
- Spoon
- Measuring cups
Ingredients
Energy Bombs
- 1 cup rolled oats
- 0.5 cup peanut butter
- 0.33 cup honey
- 0.25 cup mini chocolate chips
- 2 tbsp chia seeds
- 1 tsp vanilla extract
- 2 tbsp ground flaxseed
Instructions
- Combine oats, chia seeds, and flaxseed in a bowl.
- Add peanut butter, honey, and vanilla.
- Mix until fully combined.
- Fold in chocolate chips.
- Chill for 20 minutes.
- Roll into bite-sized balls.
Notes
Store refrigerated for best texture.