
Follow Me On Social Media!
No-Bake Peanut Butter Pie: The Creamiest, Dreamiest Dessert You’ll Ever Make
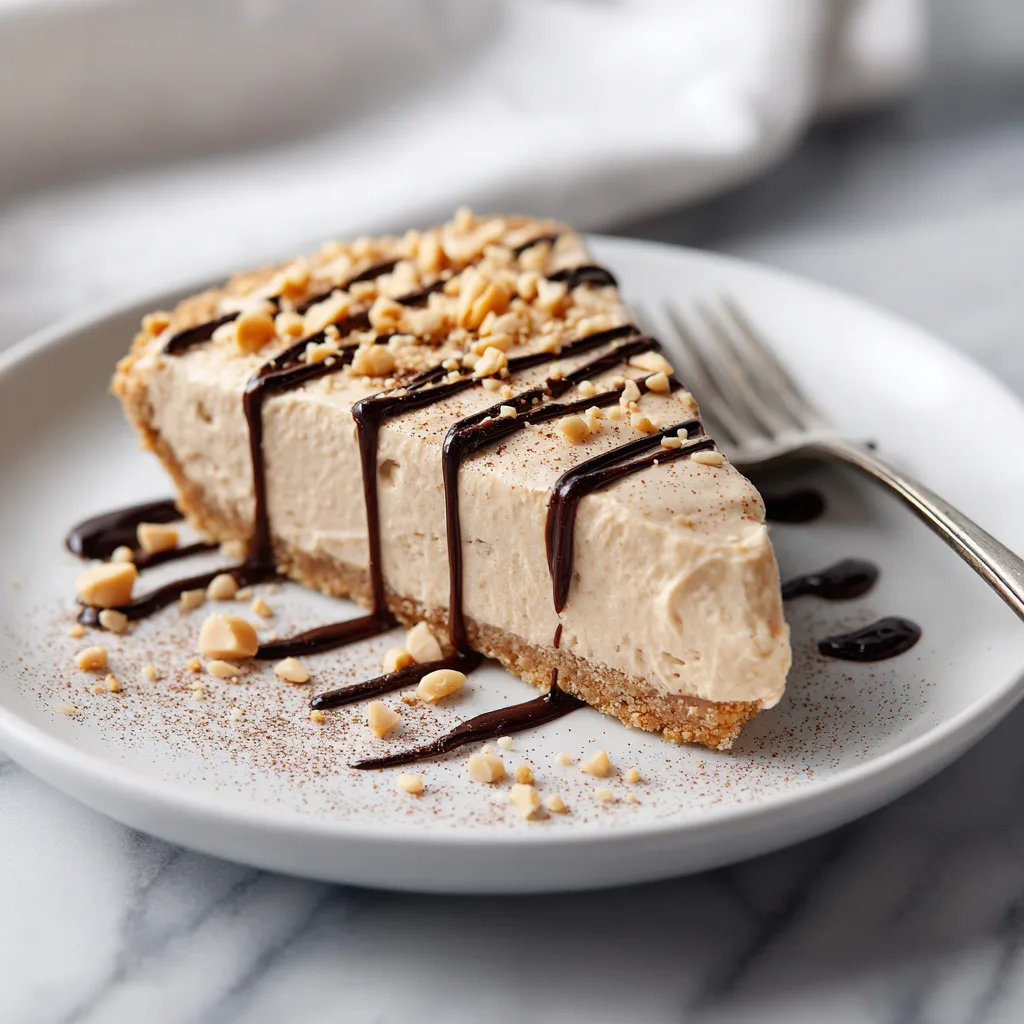
There are desserts you enjoy… and then there are desserts you crave. This No-Bake Peanut Butter Pie falls firmly into the second category. It’s rich, silky, perfectly sweet, and loaded with that nostalgic peanut butter flavor everyone loves. Best of all? You don’t even need to turn on your oven.
Whether you’re planning a holiday dessert table, a summer BBQ, or just need something indulgent for a cozy night in, this pie delivers every single time. It’s quick, beginner-friendly, and unbelievably impressive for how little effort it takes.
Let’s break down exactly why this dessert deserves a permanent spot in your recipe collection.
Why You’ll Love This No-Bake Peanut Butter Pie
✔ No oven required
✔ Ready with minimal prep
✔ Ultra-creamy texture
✔ Perfect balance of sweet & salty
✔ Great for make-ahead desserts
✔ Crowd-pleaser for all ages
This recipe blends smooth peanut butter with fluffy whipped topping and cream cheese, all layered into a chocolate cookie crust. The result? A melt-in-your-mouth pie that feels like a bakery-level dessert but is secretly ridiculously easy.
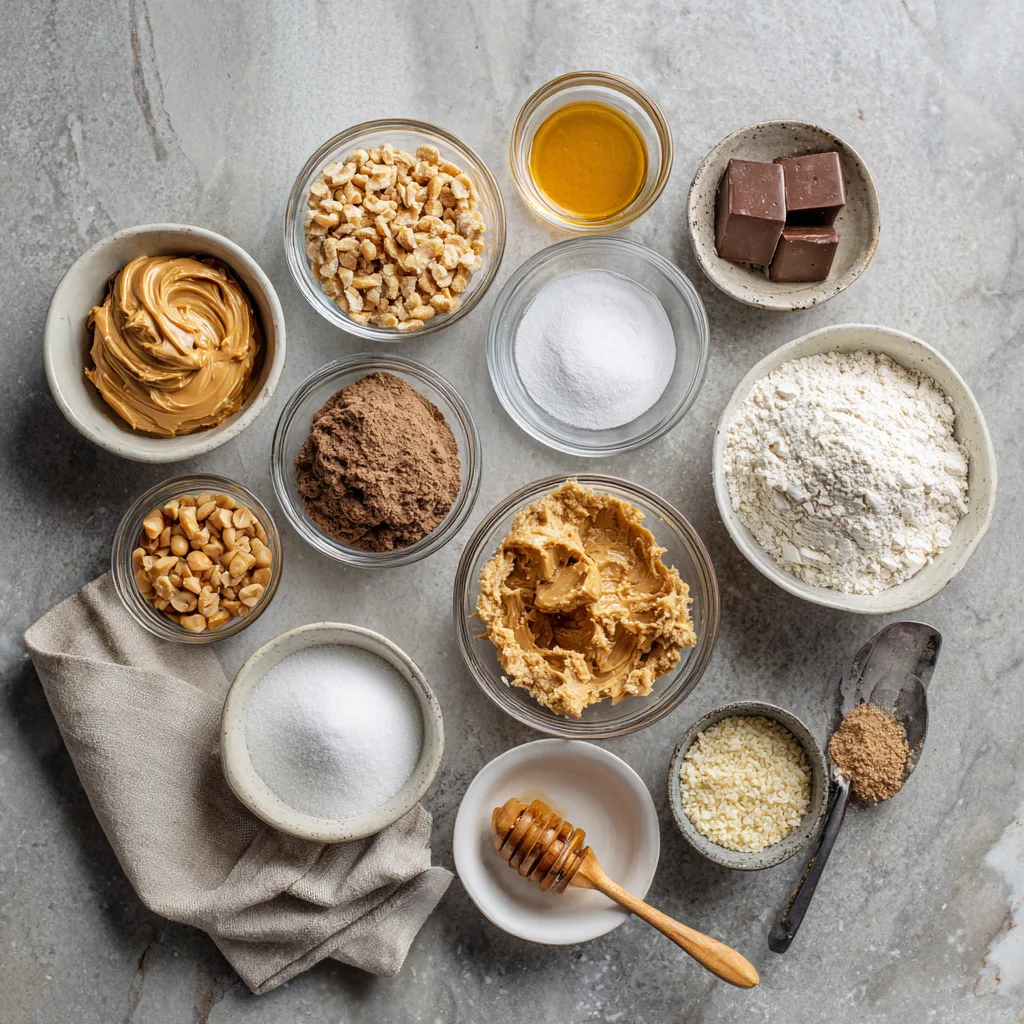
Ingredients
For the Crust
- 1 ½ cups chocolate sandwich cookie crumbs
- 6 tablespoons melted butter
For the Filling
- 1 cup creamy peanut butter
- 8 oz cream cheese, softened
- 1 cup powdered sugar
- 1 teaspoon vanilla extract
- 1 ½ cups whipped topping (Cool Whip or homemade)
For the Topping
- Chocolate syrup or ganache
- Crushed peanuts or mini chocolate chips (optional)
Instructions
- In a bowl, mix cookie crumbs with melted butter until fully combined.
- Press mixture firmly into a 9-inch pie dish. Chill for 15 minutes.
- In a large bowl, beat cream cheese until smooth.
- Add peanut butter, powdered sugar, and vanilla. Mix until creamy.
- Gently fold in whipped topping until light and fluffy.
- Spoon filling into chilled crust and smooth the top.
- Refrigerate for at least 3 hours or until fully set.
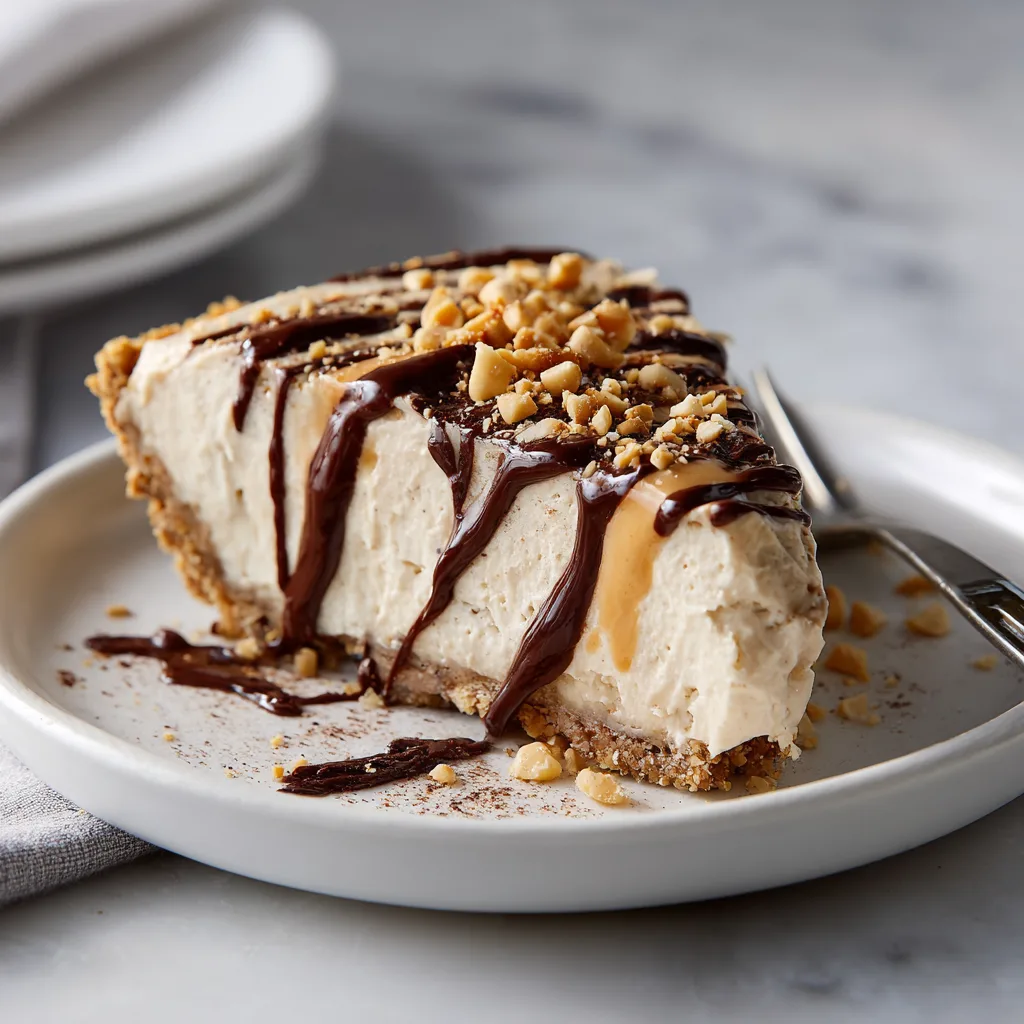
- Drizzle with chocolate and garnish before serving.
Pro Tips for the Perfect Peanut Butter Pie
• Use creamy peanut butter, not natural-style with oil separation
• Chill the bowl before whipping cream for extra fluffiness
• Let the pie sit at room temp 5 minutes before slicing
• For ultra-clean slices, wipe your knife between cuts
Variations You’ll Love
Chocolate Lover’s Version
Add a layer of chocolate ganache under the filling.
Reese’s Style Pie
Fold chopped peanut butter cups into the filling.
Crunchy Texture
Use crunchy peanut butter or add crushed peanuts.
Gluten-Free Option
Use gluten-free chocolate cookies for the crust.
Serving Suggestions
Serve chilled with:
• Hot coffee
• Cold milk
• Espresso
• Vanilla ice cream
It’s perfect for:
• Holidays
• Birthdays
• Summer cookouts
• Dinner parties
Fun Facts About Peanut Butter Desserts
Peanut butter desserts became wildly popular in the U.S. in the 1920s when peanut butter became commercially widespread. Combining peanut butter with chocolate is now one of the most iconic dessert flavor pairings in the world!
Storage & Make-Ahead Tips
• Store covered in the fridge for up to 4 days
• Freeze slices for up to 1 month
• Thaw overnight in the fridge
Final Thoughts
If you’re searching for a dessert that feels indulgent, nostalgic, and totally irresistible, this No-Bake Peanut Butter Pie is it. It’s creamy, chocolatey, rich, and surprisingly easy. One bite and you’ll understand why this recipe becomes an instant family favorite.

No-Bake Peanut Butter Pie
A rich, creamy peanut butter pie with a chocolate cookie crust that requires no baking and sets perfectly in the fridge.
Equipment
- Mixing bowls
- Pie dish
- Hand mixer or stand mixer
- Spatula
Ingredients
Crust
- 1.5 cups chocolate cookie crumbs
- 6 tbsp butter melted
Filling
- 1 cup creamy peanut butter
- 8 oz cream cheese softened
- 1 cup powdered sugar
- 1 tsp vanilla extract
- 1.5 cups whipped topping
Instructions
- Mix cookie crumbs with melted butter and press into pie dish. Chill 15 minutes.
- Beat cream cheese until smooth. Add peanut butter, sugar, and vanilla.
- Fold in whipped topping until fluffy.
- Spread filling into crust and smooth top.
- Refrigerate 3 hours until set. Garnish and serve.
Notes
For best texture, use creamy peanut butter and full-fat cream cheese.